centos7 Prometheus & node exporter 설치
- IT/어플리케이션
- 2021. 8. 31.

1단계. prometheus 계정 생성 및 prometheus 다운로드
- 계정 생성 후 prometheus 계정으로 전환
useradd -m -s /bin/bash prometheus
su - prometheus
- prometheus 다운로드
- 다운 경로는 링크(https://prometheus.io/download/#prometheus) 참고
cd ~
wget https://github.com/prometheus/prometheus/releases/download/v2.29.2/prometheus-2.29.2.linux-amd64.tar.gz
- 다운받은 prometheus 압축해제 및 디렉토리 이름 변경
tar -xzvf prometheus-2.29.2.linux-amd64.tar.gz
mv prometheus-2.29.2.linux-amd64 prometheus
2단계. prometheus 서비스 파일 생성 및 구동
- root 계정으로 진행
- /etc/systemd/system 경로에 prometheus.service 파일 생성
cd /etc/systemd/system
vi prometheus.service
- 아래 내용 복붙
[Unit]
Description=Prometheus Server
Documentation=https://prometheus.io/docs/introduction/overview/
After=network-online.target

[Service]
User=prometheus
Restart=on-failure

ExecStart=/home/prometheus/prometheus/prometheus \
  --config.file=/home/prometheus/prometheus/prometheus.yml \
  --storage.tsdb.path=/home/prometheus/prometheus/data

[Install]
WantedBy=multi-user.target
- prometheus systemctl daemon-reload & start & enable
systemctl daemon-reload
systemctl start prometheus
systemctl enable prometheus
- prometheus 프로세스 확인
[root@test-1 system]# ps -ef | grep prometheus
prometh+  1330     1  0 17:40 ?        00:00:00 /home/prometheus/prometheus/prometheus --config.file=/home/prometheus/prometheus/prometheus.yml --storage.tsdb.path=/home/prometheus/prometheus/data
- prometheus Listen port 확인
[root@test-1 system]# netstat -lntup | grep prometheus
tcp6       0      0 :::9090                 :::*                    LISTEN      1330/prometheus
3단계. prometheus 웹페이지 접속
- http://localhost:9090 접속

4단계. node_exporter 다운 및 설치
- prometheus 계정으로 전환 후 진행
- node_exporter 다운
su - prometheus
wget https://github.com/prometheus/node_exporter/releases/download/v1.2.2/node_exporter-1.2.2.linux-amd64.tar.gz
- 다운받은 node_exporter 압축해제 및 디렉토리 이름 변경
tar -xzvf node_exporter-1.2.2.linux-amd64.tar.gz
mv node_exporter-1.2.2.linux-amd64 node_exporter
5단계. node_exporter 서비스 파일 생성 및 구동
- root 계정으로 진행
- /etc/systemd/system 경로에 node_exporter.service 파일 생성
cd /etc/systemd/system/
vim node_exporter.service
- 아래 내용 복붙
[Unit]
Description=Node Exporter
Wants=network-online.target
After=network-online.target

[Service]
User=prometheus
ExecStart=/home/prometheus/node_exporter/node_exporter

[Install]
WantedBy=default.target
- node_exporter systemctl daemon-reload & start & enable
systemctl daemon-reload
systemctl start node_exporter
systemctl enable node_exporter
- ode_exporter Listen port 확인
[root@test-1 system]# netstat -lntup | grep node
tcp6       0      0 :::9100                 :::*                    LISTEN      1406/node_exporter
7단계. prometheus에 node_exporter 등록
- vi prometheus.yml 파일에 아래 내용 추가
- localhost 부분은 node_exporter를 설치한 서버의 주소를 입력할 것
  - job_name: "prometheus"
    static_configs:
      - targets: ["localhost:9100"]
- 설정 후 prometheus 서비스 재구동
systemctl restart prometheus
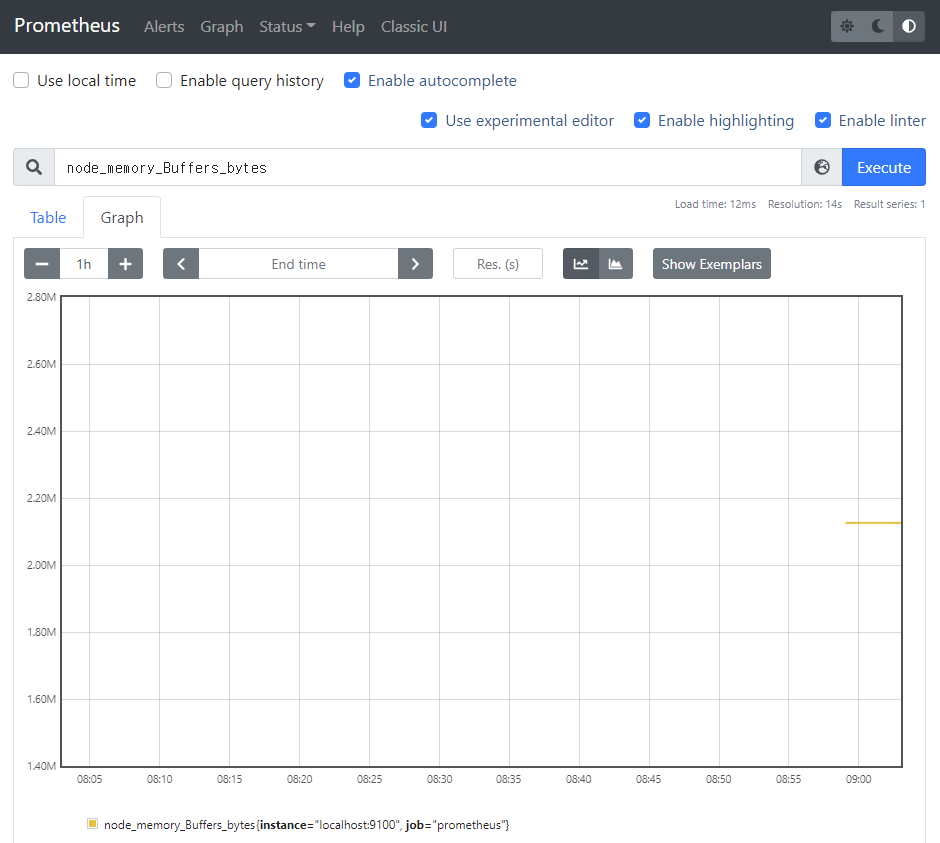
8단계. prometheus 모니터링 페이지에서 node_exporter 확인
- http://localhost:9090/graph 접속
- node_memory_Buffers_bytes 입력 후 Execute 버튼 클릭
- Graph 탭 선택
- 모니터링 데이터 수집되는 부분 확인
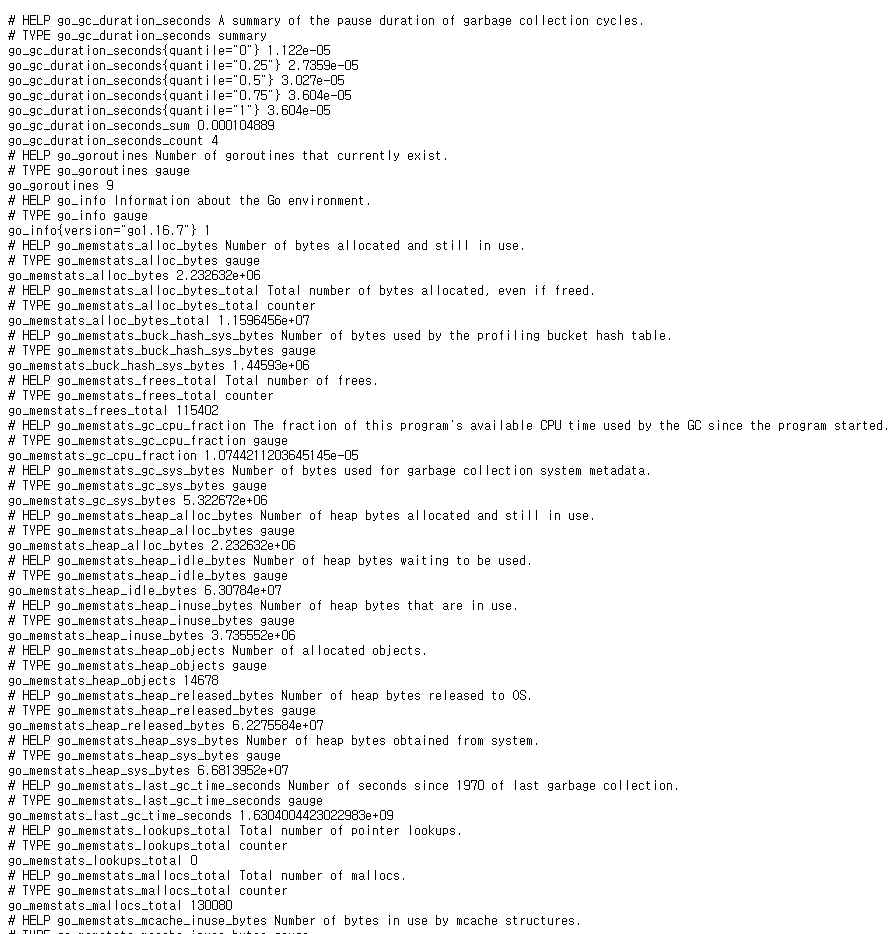
- raw 데이터 확인이 필요한 경우 아래 주소 접속
- http://localhost:9100/metrics
'IT > 어플리케이션' 카테고리의 다른 글
| 윈도우(Windows)에서 삭제된 파일 복구하는 방법 (0) | 2023.07.18 |
|---|---|
| 카페24로 워드프레스 홈페이지 만들기 (0) | 2023.07.14 |
| vdbench을 이용하여 raw device I/O 측정 & 테스트 (0) | 2023.06.19 |
| github enterprise 백업 및 복구(backup & restore) (0) | 2023.05.15 |
| ubuntu 젠킨스(jenkins) 설치간 인증서 오류 (0) | 2023.05.15 |
